Here are the steps to install a font on Windows:
- Download the font file: You can download the font file from a trusted website or purchase it from a font vendor. Make sure the font file is compatible with your Windows operating system.
- Extract the font file: If the font file is compressed in a ZIP folder, extract the files to a folder on your computer.
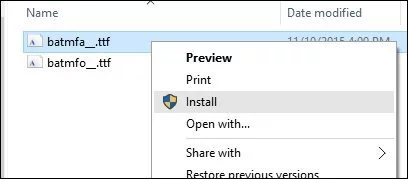
- Install the font: Right-click on the font file and select "Install" from the drop-down menu. Alternatively, you can double-click on the font file and click the "Install" button.
- Wait for the font to install: The font installation process may take a few seconds to a minute, depending on the size of the font file.
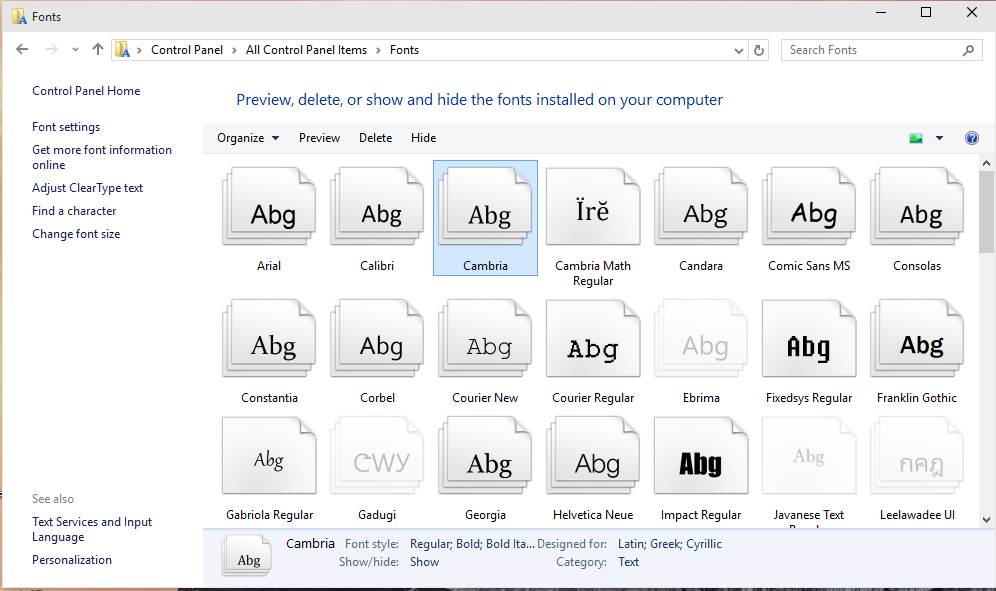
- Verify the font is installed: After the font installation is complete, you can verify it is installed by opening a program that uses fonts, such as Microsoft Word. Select the font drop-down menu and look for the newly installed font.
Congratulations, you have successfully installed a new font on your Windows computer!